Salon Blowout at Home: 5 Easy Steps (2026)
This post contains affiliate links. As an Amazon Associate, we earn from qualifying purchases, at no extra cost to you.
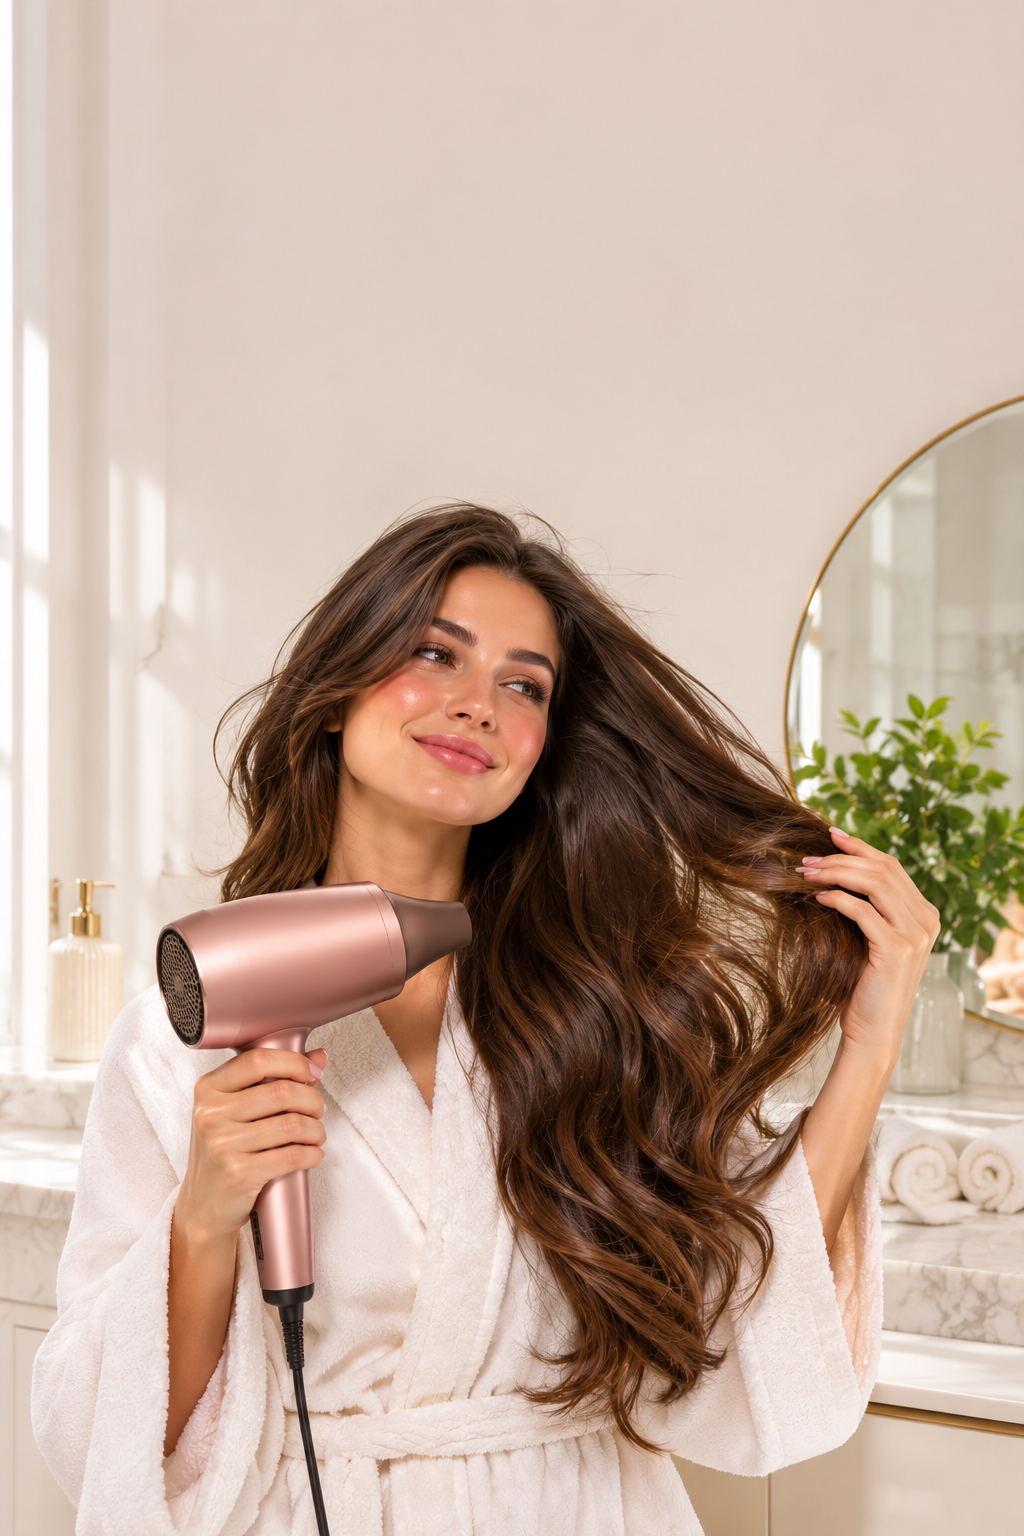
Want a salon blowout at home? It is not magic. Stylists rely on three things: prepped damp hair, steady tension, and a cool finish. Once you understand those three, you can get a smooth, bouncy, or voluminous result in your own bathroom, and it lasts for days instead of hours.
This guide covers the tools you need, how to adjust the routine for your hair type, five clear steps, the finishes you can choose from, the mistakes that ruin most home blowouts, and answers to the questions people ask most.
What You Need for a Salon Blowout at Home
You do not need a full salon setup, but a few tools make a visible difference:
- A dryer with a concentrator nozzle. The nozzle focuses the airflow into a narrow stream, so you can smooth the hair shaft instead of blasting frizz around it. Check the product details to confirm the nozzle is included.
- A round brush in two sizes. A larger barrel creates soft volume at the roots and length. A smaller barrel is better for curls and flips at the ends.
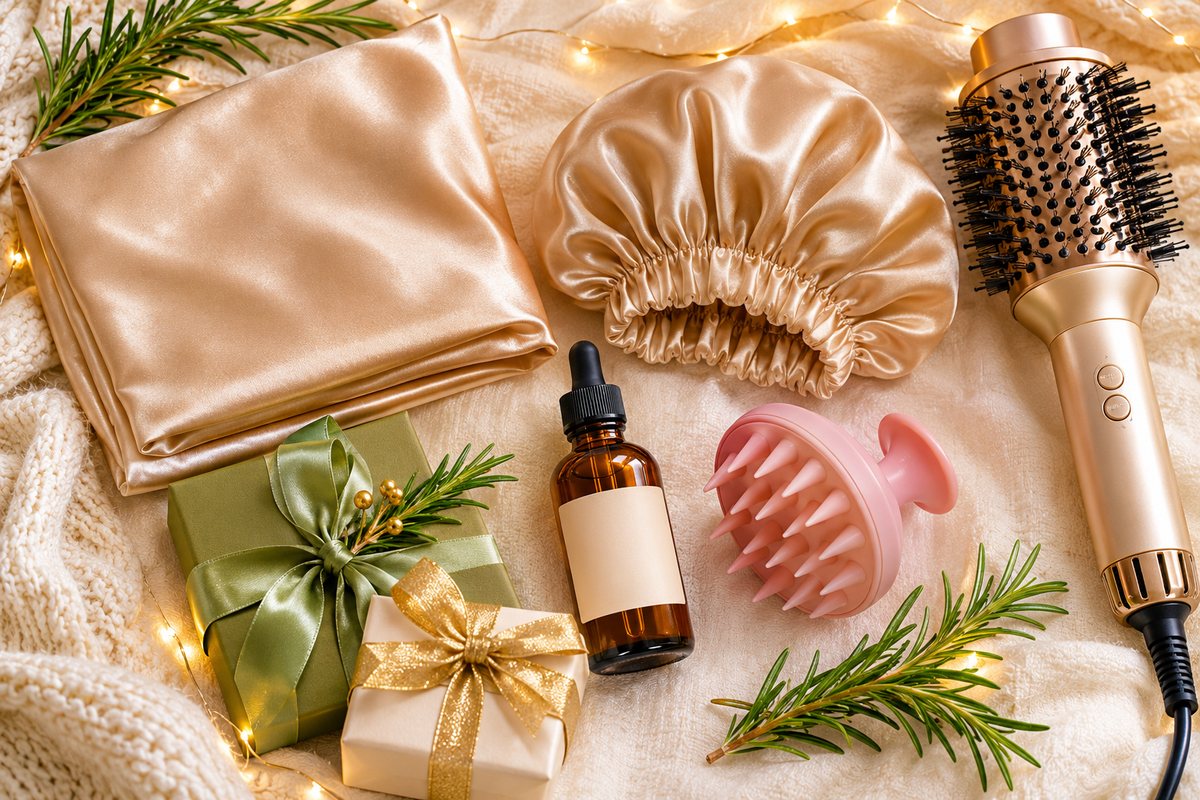
- Heat protectant. Apply it before any heat. It helps reduce damage and makes the hair easier to smooth.
- A light serum or leave-in. A small amount adds shine. Too much makes hair look heavy and greasy.
- Clips and a comb. A wide-tooth comb detangles wet hair, and a fine-tooth comb smooths the finished style.
The Two Dryers Worth Checking First
If you want to start with a dryer that fits this method, these two are a good place to look. The full list of options is in our guide to the 7 best hair dryers on Amazon.
Conair Dual Voltage Compact Travel Hair Dryer
A compact dual voltage dryer for travel and quick touch-ups.
Check Price on AmazonGood to know: a compact dryer has less power than a full-size one, so it suits smaller sections and quick styling more than daily blowouts on very thick hair.
Dyson Supersonic Nural Hair Dryer
Dyson’s premium dryer for people who blow-dry often and want the best results.
Check Price on AmazonGood to know: this is a serious investment. It makes the most sense if you style your hair with heat most days, not once a month.
Know Your Hair Type Before You Start
The same method works for every hair type, but the settings change. Fine or thin hair dries quickly and can get flat, so use medium heat, a lighter brush, and a small amount of product. Thick or coarse hair takes longer to dry, so you can use a higher heat setting, but work in smaller sections to get the airflow through every layer.
Wavy and curly hair benefit from tension and a cool finish, but avoid dragging a brush through the curl pattern. Use a wide-tooth comb or your fingers, dry with a diffuser or the nozzle at lower heat, and only use the round brush for the roots and ends.
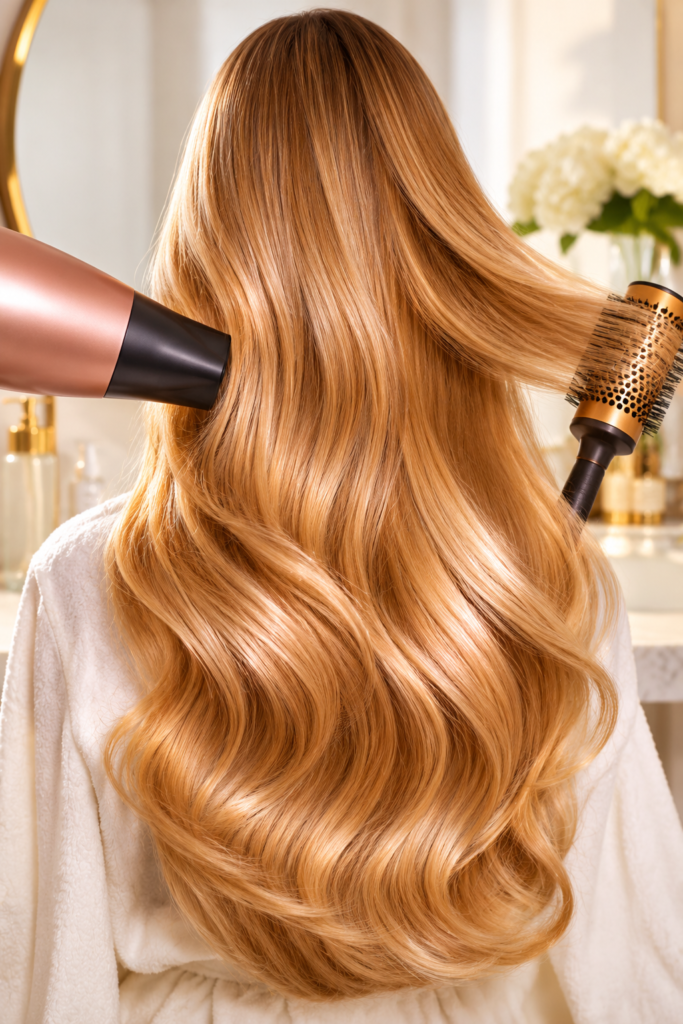
5 Steps to a Salon Blowout at Home
Step 1: Prep Damp Hair, Not Wet Hair
Start with clean, conditioned hair. Detangle it gently with a wide-tooth comb, starting at the ends and working up to the roots. Then blot the hair with a towel. Do not rub, because rubbing roughens the cuticle and causes frizz.
The hair should feel damp, not dripping. If water runs down your neck, blot again. Wet hair takes longer to dry and is more fragile, so the damp stage is where most of the smoothness starts.
Apply heat protectant from mid-lengths to the ends. Focus on the ends, because they are the oldest and most fragile part of the hair. Let the product spread evenly before you start.
Step 2: Section Like a Pro
Part your hair down the middle, or on the side you normally wear it. Clip the top layer out of the way. Then divide the bottom section into two or three layers. Working from the bottom up gives you control and keeps the finished layers from getting tangled.
Small sections are slower, but they are the difference between a smooth finish and a fluffy one. The air needs to reach every strand, and a thick section blocks the heat from reaching the middle.
Step 3: Use Tension to Dry the Roots
Attach the concentrator nozzle and aim the airflow down the hair shaft, not across it. Place the round brush under a small section near the roots. Pull the brush gently so the hair stays taut, then follow the direction of growth as you roll the brush outward.
Tension is what creates the smooth, polished look. Keep the brush moving so the heat does not stay on one spot. Dry the roots until they are about 80 percent dry, then move down to the mid-lengths.
For fine hair, use medium heat and a lighter brush. For thick hair, you can use a higher setting, but never hold the dryer in one place for long. Start low, and only increase the heat if the section is not drying.
Step 4: Shape the Ends
The ends decide the final shape. For a sleek finish, wrap the ends under the brush and glide it slowly down the length while the airflow follows the brush. For soft bounce, wrap the ends around the brush, hold for a few seconds, then release. The ends will curl naturally as they cool.
Do not rush this step. The ends are the most fragile part of the hair, so use medium heat here and keep the dryer moving. If the hair gets too hot or looks frizzy, lower the heat and finish the section with cool air.
Step 5: Lock It In With Cool Air
The cool shot is the step most people skip, and it is the one that makes the style last. After each section, blast it with cool air for 10 to 15 seconds. The cool air helps the cuticle lie flat and sets the shape you created with the brush.
When everything is dry, rub one small drop of serum between your palms and smooth it over the ends and the outer layer. Keep the product away from the roots, or the style will look flat. Use a fine-tooth comb to smooth any stray pieces.
Choose Your Finish: Sleek, Bouncy, or Volume
The same method gives you different looks depending on where you put the tension and how you finish. For a sleek finish, use the brush to pull the hair straight at the ends, keep the airflow close to the shaft, and finish with the cool shot.
For bounce, wrap the ends around the brush and hold them for a few seconds before you release. Use a smaller barrel for tighter movement. This look suits shoulder-length and longer hair.
For volume, focus on the roots. Lift the brush away from the scalp as you dry, and point the airflow up under the hair. Hold the section in place while it cools. Volume works best on fine hair that lacks body.
4 Mistakes That Ruin a Home Blowout
- Brushing soaking-wet hair. Wet hair stretches and breaks more easily. Blot it first, then start the brush work.
- Holding the dryer too close. One spot overheats, which leaves the hair dry, frizzy, and dull. Keep the dryer moving at a steady distance.
- Skipping the cool shot. Without it, the style starts to fall out sooner.
- Overusing serum. A little adds shine, but too much weighs the hair down and makes it look greasy.
Most of these mistakes have the same fix: slow down, use smaller sections, and finish every section with cool air.
Salon Blowout at Home: Your Questions Answered
How long does a home blowout last?
With a proper cool shot and a light serum, many blowouts last two to three days. Humidity, sleeping on cotton pillowcases, and heavy product all shorten that time. For longer wear, sleep with your hair loose and use a silk or satin pillowcase.
Can I get a salon blowout with a basic dryer?
Yes. A concentrator nozzle and a round brush make the biggest difference, and the technique matters more than the price tag. Practice on one section at a time, and your results will improve quickly.
How often should I use heat for a blowout?
Use heat only when you need it, and always apply heat protectant first. Give your hair days without heat between styling sessions. If your hair feels rough, stretchy, or dry, reduce the heat and frequency and focus on conditioning.
How long does it take to learn the method?
Most people need several practice sessions before the brush and airflow feel natural. Your first attempts may look uneven, and that is normal. Keep the sections small, keep the tension steady, and always finish with cool air.
The Bottom Line
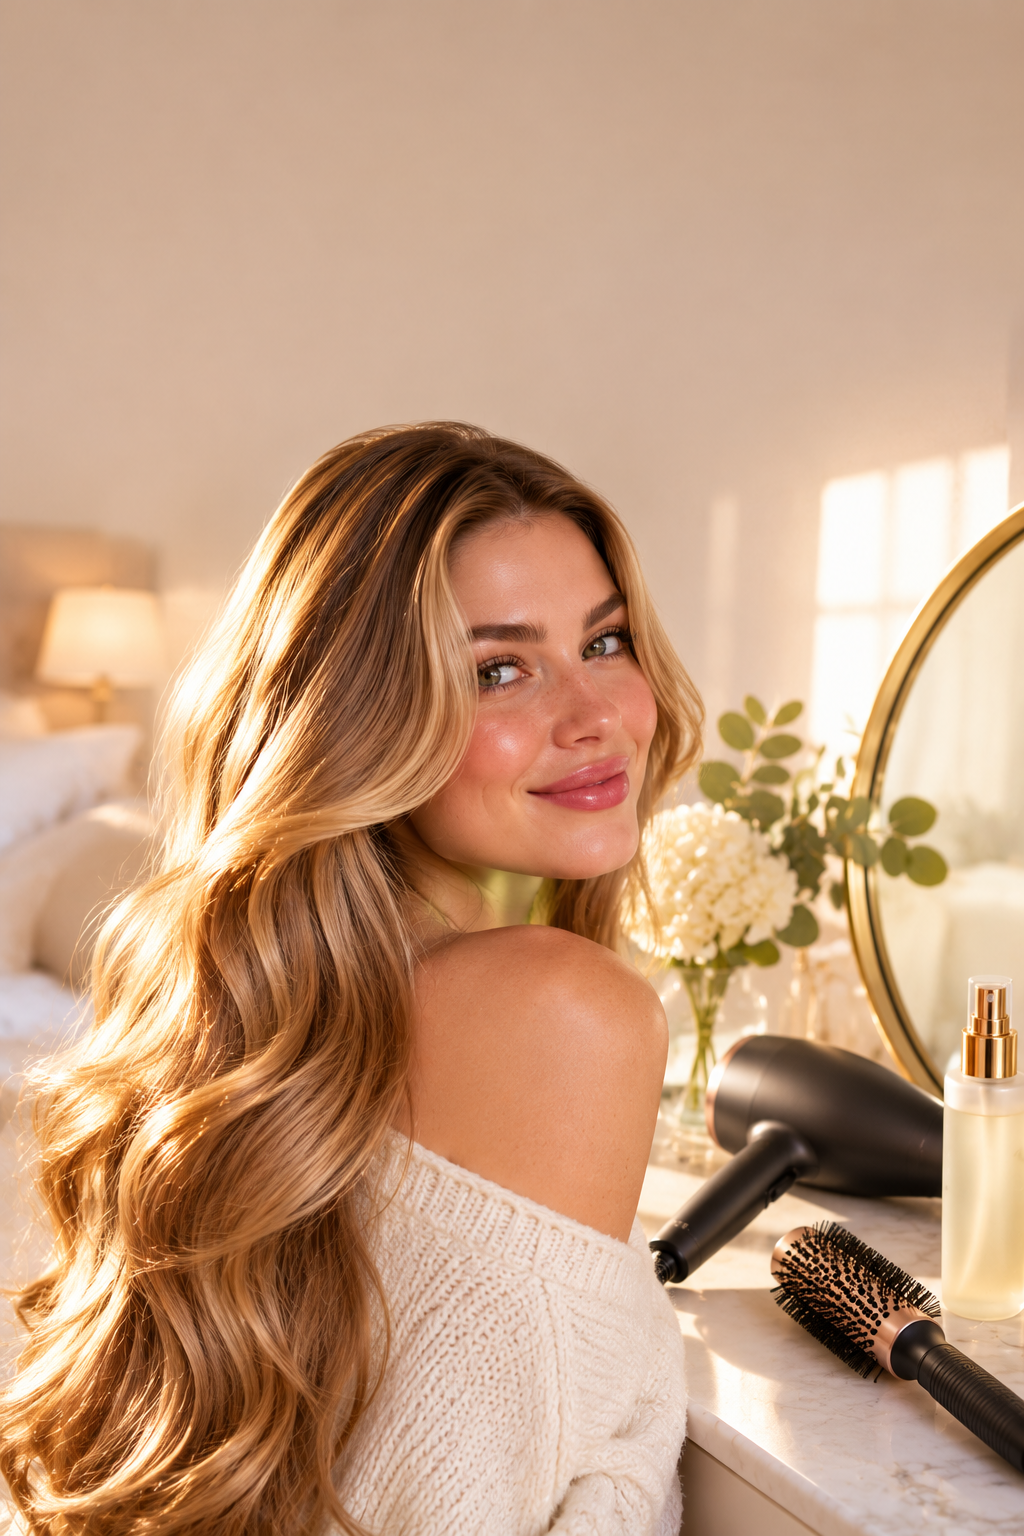
A salon blowout at home comes down to prep, tension, and the cool shot. Master those three, pick the dryer that fits your budget and how often you style, and your blowout will look polished for days. For the full list of dryers we recommend, read the 7 best hair dryers on Amazon.